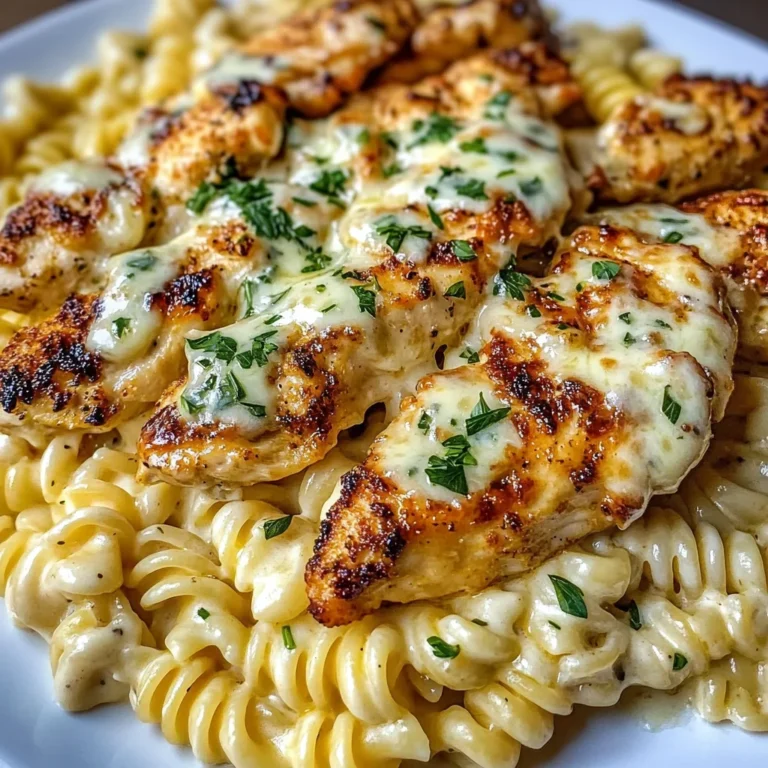
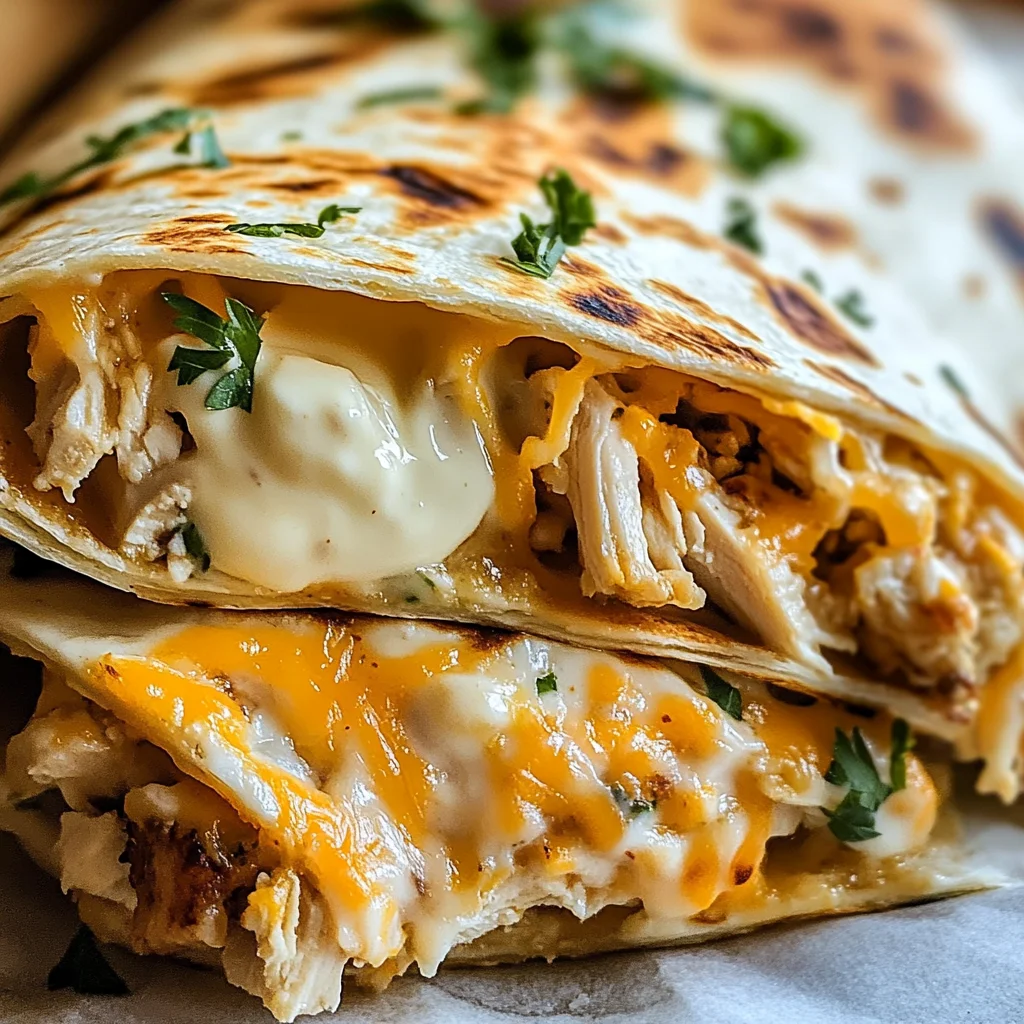
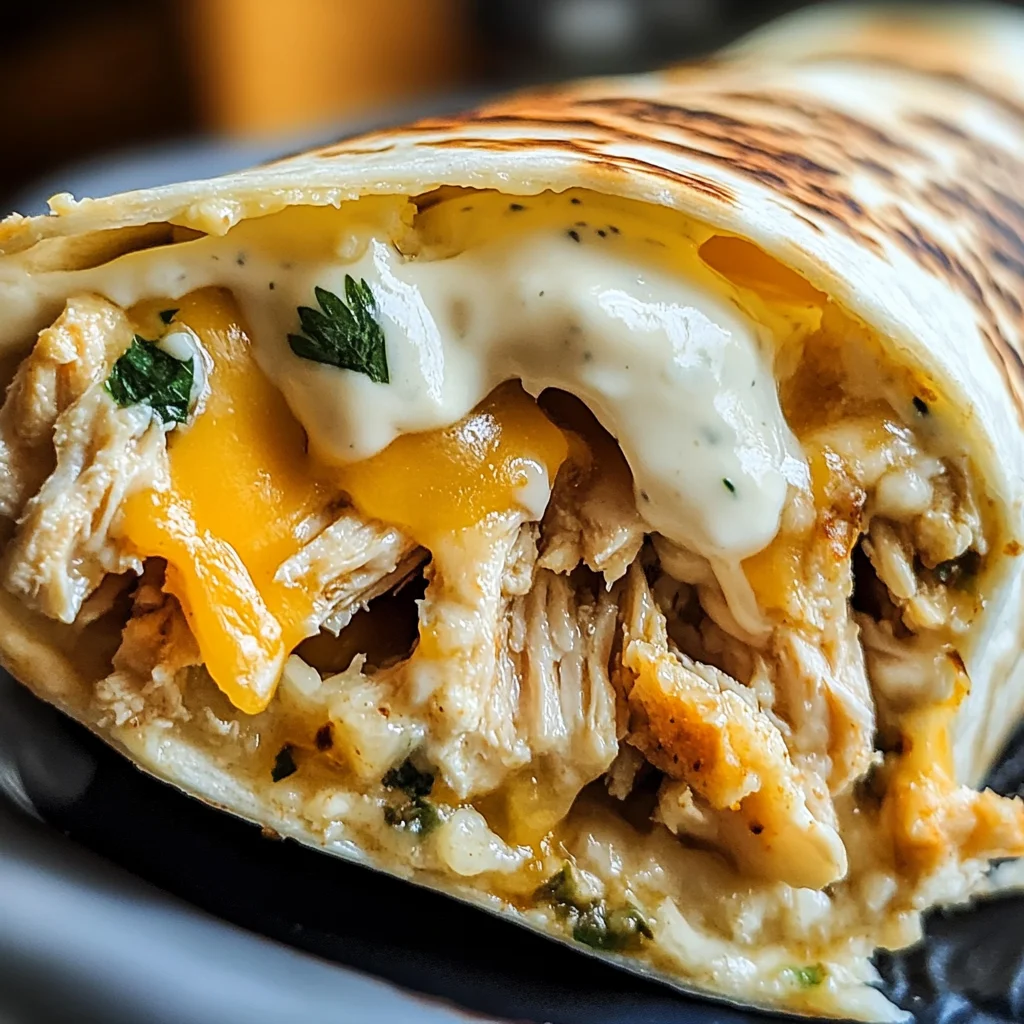
Cheesy Garlic Chicken Wraps
Enjoy our Cheesy Garlic Chicken Wraps, featuring tender chicken, creamy garlic aioli, and melted cheddar in a soft tortilla. These wraps are perfect for any occasion, whether it’s a family dinner, a picnic, or a quick lunch. Their delightful combination of flavors makes them a standout choice that everyone will love.
Why You’ll Love This Recipe
- Quick to Prepare: Whip up these wraps in just 15 minutes of prep time and 20 minutes of cooking.
- Flavor Packed: The creamy garlic aioli and melted cheddar pair wonderfully with the shredded chicken.
- Versatile Meal: Great for lunch or dinner, you can customize them with your favorite veggies.
- Kid-Friendly: Kids will enjoy the cheesy goodness wrapped in a tasty tortilla.
- Easy Cleanup: With minimal dishes used, cleaning up after this meal is a breeze.
Tools and Preparation
To make your cooking experience smooth and enjoyable, gather the following essential tools before you start preparing your Cheesy Garlic Chicken Wraps.
Essential Tools and Equipment
- Large mixing bowl
- Skillet
- Spatula
- Measuring cups
Importance of Each Tool
- Large mixing bowl: Ideal for combining ingredients without making a mess.
- Skillet: Perfect for heating the wraps evenly while melting the cheese.
- Spatula: Helps flip and serve the wraps easily without tearing them.
Ingredients
For the Chicken Filling
- 2 cups cooked chicken (shredded)
- 1/2 cup garlic aioli
- 1 cup cheddar cheese (shredded)
For the Wraps
- 4 large tortillas
- Salt and pepper to taste
How to Make Cheesy Garlic Chicken Wraps
Step 1: Prepare the Filling
In a large mixing bowl, combine shredded chicken and garlic aioli. Mix well until the chicken is fully coated. Season with salt and pepper to taste.
Step 2: Heat the Skillet
Preheat your skillet over medium heat. Once hot, place one tortilla on the skillet.
Step 3: Assemble the Wraps
On one half of the tortilla, layer some of the chicken mixture and sprinkle with shredded cheddar cheese. Fold the tortilla over to cover the filling.
Step 4: Cook Until Golden
Cook each side of the wrap for about 3–4 minutes or until golden brown and crispy. Repeat this process with remaining tortillas and filling.
Step 5: Serve Warm
Cut each wrap in half and serve warm. Enjoy your delicious Cheesy Garlic Chicken Wraps!
How to Serve Cheesy Garlic Chicken Wraps
Cheesy Garlic Chicken Wraps are delicious and versatile. They can be served in various ways to enhance your meal experience.
For a Quick Lunch
- Pair with a salad – A light garden salad adds freshness to your wraps.
- Serve with chips – Crunchy tortilla chips provide a satisfying contrast.
As a Dinner Option
- Accompany with steamed veggies – Brightly colored vegetables add nutrition and color to your plate.
- Serve with rice – Fluffy rice can soak up any extra garlic aioli for a delightful bite.
For a Party or Gathering
- Offer as finger food – Cut the wraps into smaller pieces for easy handling.
- Create a wrap platter – Include various dips, such as salsa or guacamole, for guests to enjoy.
How to Perfect Cheesy Garlic Chicken Wraps
Making perfect Cheesy Garlic Chicken Wraps is simple with these helpful tips.
- Use warm tortillas – Warming tortillas makes them more pliable and easier to roll.
- Don’t overfill the wraps – Keep the filling moderate to avoid spills while wrapping.
- Add fresh herbs – A sprinkle of parsley or cilantro enhances flavor and presentation.
- Toast the wraps – Lightly grilling or pan-toasting adds a crispy texture that complements the cheesy filling.
Best Side Dishes for Cheesy Garlic Chicken Wraps
Complement your Cheesy Garlic Chicken Wraps with these delightful side dishes that enhance the overall meal.
- Garlic Bread – Crispy garlic bread serves as a flavorful accompaniment.
- Coleslaw – Creamy coleslaw adds crunch and balances the richness of the wraps.
- French Fries – Golden, crispy fries provide comfort and satisfaction.
- Caesar Salad – A classic Caesar salad pairs perfectly with the creamy flavors of the wraps.
- Roasted Potatoes – Seasoned roasted potatoes offer heartiness alongside your wraps.
- Fruit Salad – A fresh fruit salad brings brightness and sweetness to your meal.
Common Mistakes to Avoid
When making Cheesy Garlic Chicken Wraps, it’s easy to overlook some key steps. Here are common mistakes to avoid for the best results.
- Using dry chicken: Ensure your chicken is moist. Use freshly cooked or well-stored shredded chicken.
- Skipping seasoning: Don’t forget to season! A pinch of salt and pepper can elevate the flavor significantly.
- Overfilling wraps: Avoid overstuffing. Fill the tortillas moderately to make them easier to roll and eat.
- Not warming tortillas: Warming tortillas makes them pliable. Heat them for a few seconds before wrapping for better texture.
- Ignoring ingredient quality: Choose high-quality ingredients. Fresh garlic aioli and sharp cheddar can make a noticeable difference.
Storage & Reheating Instructions
Refrigerator Storage
- Store in an airtight container for up to 3 days.
- Keep wrapped tightly to preserve freshness.
Freezing Cheesy Garlic Chicken Wraps
- Wrap each individually in plastic wrap, then place in a freezer bag.
- They can be frozen for up to 2 months.
Reheating Cheesy Garlic Chicken Wraps
- Oven: Preheat to 350°F (175°C). Bake for about 10-15 minutes until heated through.
- Microwave: Heat on medium power for 1-2 minutes, checking periodically.
- Stovetop: Warm in a skillet over medium heat, turning occasionally until hot.
Frequently Asked Questions
Here are some common questions about Cheesy Garlic Chicken Wraps.
Can I use leftover chicken?
Yes! Leftover rotisserie chicken works great and saves time in making Cheesy Garlic Chicken Wraps.
What can I add to the wraps?
Feel free to customize with veggies like spinach or bell peppers for added crunch and nutrition.
How do I make my own garlic aioli?
You can blend mayo with minced garlic, lemon juice, and a pinch of salt for a quick homemade version.
Can these wraps be made ahead of time?
Absolutely! You can prepare them a few hours in advance. Just store in the refrigerator until ready to serve.
Final Thoughts
These Cheesy Garlic Chicken Wraps are not only delicious but also versatile. They can be customized with different ingredients based on your preference. Whether it’s a cozy family dinner or a quick meal prep option, this recipe is sure to satisfy your cravings!
Cheesy Garlic Chicken Wraps

Indulge in the delightful flavors of Cheesy Garlic Chicken Wraps, a quick and easy meal perfect for any occasion. These wraps feature tender shredded chicken enveloped in creamy garlic aioli and topped with melted cheddar cheese, all wrapped in a soft tortilla.
- Prep Time: 15 minutes
- Cook Time: 20 minutes
- Total Time: 35 minutes
- Yield: Serves 4
- Category: Dinner
- Method: Frying
- Cuisine: American
Ingredients
- 2 cups cooked shredded chicken
- 1/2 cup garlic aioli
- 1 cup shredded cheddar cheese
- 4 large tortillas
- Salt and pepper to taste
Instructions
- In a large mixing bowl, combine shredded chicken and garlic aioli. Mix until coated, then season with salt and pepper.
- Preheat a skillet over medium heat and place one tortilla in it.
- On one half of the tortilla, add the chicken mixture and sprinkle with cheddar cheese. Fold the tortilla over.
- Cook each side for about 3–4 minutes until golden brown and crispy. Repeat with remaining ingredients.
- Cut each wrap in half and serve warm.
Nutrition
- Serving Size: 1 wrap (152g)
- Calories: 330
- Sugar: 1g
- Sodium: 680mg
- Fat: 16g
- Saturated Fat: 7g
- Unsaturated Fat: 8g
- Trans Fat: 0g
- Carbohydrates: 32g
- Fiber: 2g
- Protein: 18g
- Cholesterol: 50mg